If you are in search of a converter to transcode DSLR footage to DNxHD codec for editing use, you are in the right place. This post guides you through the process of converting DSLR video files to DNxHD format for use in NLEs like Premiere, Avid Media Composer, etc. with optimum performance.
Most major editing programs can use the native DSLR footage, but in some situations, users may still need to convert DSLR footage to DNxHD, ProRes, or other intermediate/mezzanine codecs for a faster and more fluid workflow. These files will be larger but on borderline systems you’ll get better editing performance and on most systems you’ll get better performance with fast playback/scrubbing as they are intraframe codecs.
We have talked about how to convert DSLR footage to ProRes in our previous post. Here in this post, we will explain how to encode DSLR recordings to DNxHD codec.
How to convert DSLR video files to DNxHD for editing?
Software requirement
HD Video Converter
You can download a demo version to have a try. They are not free but it is totally worth it.


Follow these steps:
Step 1: Start up HD Video Converter as a DSLR Video to DNxHD Converter. When its main interface pops up, click ‘Add File’ to input your source media.

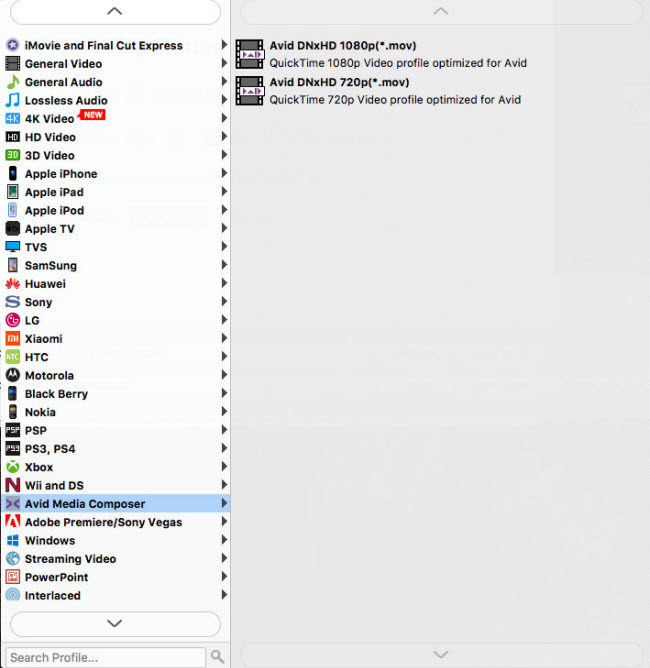
Step 2: Choose DNxHD as output format
From ‘Profile’ list, select ‘Avid DNxHD (*.mov)’ as output format under ‘Avid Media Composer’ column. The DNxHD codec is suitable for editing in NLEs like Avid, Premiere, DaVinci Resolve, Edius, and more.
Important: If you’ve loaded a number of video clips to do batch conversion, please do remember ticking off ‘Apply to All’ option before you start.
Step 3: Custom video and audio settings
If necessary, you can click ‘Settings’ button and go to ‘Profiles Settings’ panel to modify video and audio settings like video encoder, resolution, video bit rate, frame rate, aspect ratio, audio encoder, sample rate, audio bit rate, and audio channels. 3D settings are also available.
Step 4: Start DSLR footage to DNxHD MOV Conversion
When ready, click ‘Convert’ to start format conversion. As soon as the conversion is complete, you can click ‘Open Folder’ button to get the exported DNxHD MOV files for use in your editing programs with optimum performance.
Related posts
Does Edius support Canon XC10 XF-AVC files natively?
AVCHD and Avid – Transcode AVCHD to DNxHD for Avid import
What’s the best workflow between Sony PMW-EX3 and Avid MC?
Sony FS7 footage converter-convert FS7 video on Mac/Windows