If you experience any issues importing Panasonic DVX200 4K footage to FCP X for post production, you may wish to read this post. It explains a way of converting DVX200 4K (MP4/MOV) video to Apple ProRes 422 codec for use in FCP X smoothly.
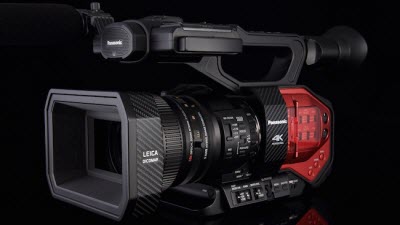
At NAB, Panasonic announced the AG-DVX200, a 4K handheld camcorder with a large 4/3-inch sensor, two XLR audio inputs, and a fixed 13x optical zoom lens, appearing to be geared towards journalists, news, and documentary work.
The AG-DVX200 will record 4K (4096 × 2160) / 24p, UHD (3840 × 2160) / HD (1920 × 1080) 60p / 50p / 30p / 25p / 24p in either MP4 or MOV file formats. There are two SD card slots, facilitating backup and relay recording. For professionals working worldwide, the camera’s master frame rate is selectable between 59.94Hz (23.98Hz) / 50.00Hz / 24.00Hz.
On some occasions, for a fast and fluid Panasonic AG-DVX200 4K workflow with FCP X, videographers will need to convert AG-DVX200 4K footage to a format that is best suitable for editing in FCP X. Read on to discover a quick guide on how to transcode AG-DVX200 4K MP4/MOV video to ProRes 422 for use in FCP X easily and directly without extra rendering.
Here’s what you need
HD Video Converter for Mac

A quick guide on how to convert Panasonic DVX200 4K MP4/MOV to ProRes for FCP X editing
Follow these steps:
Step 1: Run HD Video Converter for Mac as a professional Panasonic 4K to ProRes Converter. When its main interface comes up, click ‘Add File’ to load source video to it.
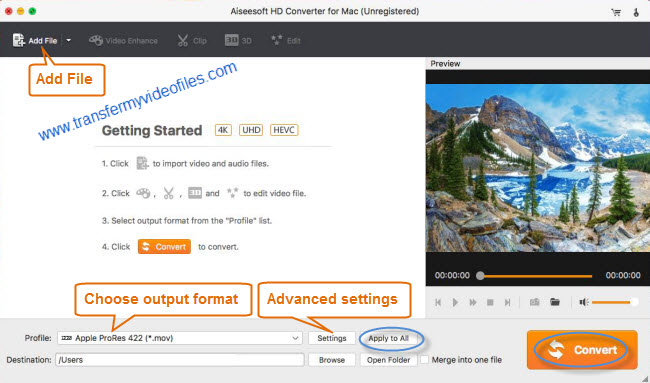
Step 2: Select ‘Apple ProRes 422 (*.mov)’ as output format for opening with FCP X
From the ‘Profile’ list, move to ‘Final Cut Pro’ catalogue, and select ‘Apple ProRes 422 (*.mov)’ as target format. Apple ProRes is the best suited editing codec for FCP X and its former version FCP 7. When loading them into FCP (X), you needn’t wait for a long time for rendering.

Important: If you’ve loaded a number of video clips to do batch conversion, please do remember ticking off ‘Apply to All’ option before you start.
Step 3: Adjust video and audio settings (for advanced users)
If necessary, you can click ‘Settings’ button and go to ‘Profiles Settings’ panel to modify video and audio settings like video encoder, resolution, video bit rate, frame rate, aspect ratio, audio encoder, sample rate, audio bit rate, and audio channels. 3D settings are also available.
Step 4: Click ‘Convert’ to start Panasonic DVX200 4K MP4/MOV to ProRes MOV conversion.
Step 5: Click ‘Open Folder’ to get generated ProRes 422 QuickTime files for editing in Final Cut Pro X with optimum performance.
Related posts
FCP 7 not recognizing my MXF file – convert MXF to ProRes
Sony a5100 and FCP X – convert a5100 video files to ProRes
Nikon D5300 to FCP X Converter – encode D5300 MOV to ProRes
Import Sony HDR-AS100V 1080/60p XAVC S MP4 to iMovie/FCP X
How to import Sony F55/F5 CineAlta 4K XAVC to FCP without plugin?