How to import and edit Canon XF-AVC MXF files in iMovie? This post will give you some hints on this. It guides you through the process of transcoding XF-AVC MXF files to AIC .mov for editing in iMovie with excellent quality.
In recent years, the widespread use of digital data in cinema and video has become commonplace throughout the entire production workflow. Accordingly, amid growing demand for high-image-quality video, there have been increasing opportunities to record in 4K resolution video, which employs more than four times the number of pixels used in HD content. In light of this trend, Canon developed its XF-AVC video format to support greater workflow efficiency and convenience during the production process for high-image-quality video.
It is said that by collaborating with various industry manufacturers in connection with the new XF-AVC video format, Canon delivers improved ease and convenience during cinema and video production workflows for high-image-quality video. How about editing XF-AVC files in Apple iMovie? If for some reason you are unable to use XF-AVC MXF movies in iMovie smoothly, we would recommend that you convert XF-AVC files to Apple’s InterMediate Codec (AIC) before editing. AIC is iMovie’s favorite editing codec, which iMovie will recognize and handle well. This requires third party software like HD Video Converter for Mac. Read on to find a step-by-step guide talking about how to rewrap XF-AVC recordings to AIC .mov for editing in iMovie stably and reliably.
[Guide] How to encode XF-AVC MXF files to AIC .mov for iMovie editing?
Required app
HD Video Converter for Mac

Download and install HD Video Converter for Mac, and then follow these steps:

Step 1: Run HD Video Converter for Mac as a professional XF-AVC MXF to iMovie Converter. When its main interface comes up, click ‘Add File’ to load source video to it.
Step 2: Select output format for iMovie
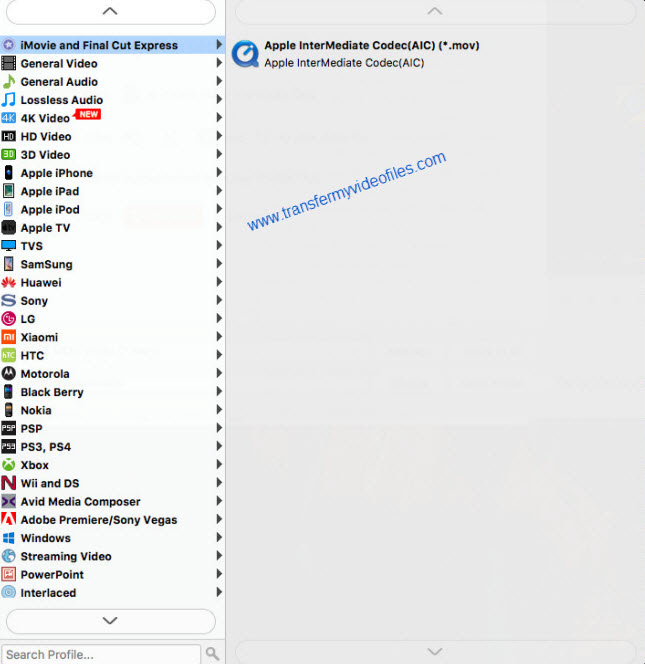
For the purpose of converting XF-AVC MXF files for use in iMovie, from ‘Profile’ list, select ‘Apple InterMediate Codec (AIC)(*.mov)’ as output format under ‘iMovie and Final Cut Express’ column. This format is also suitable for use in the discontinued Final Cut Express.
Important: If you’ve loaded a number of video clips to do batch conversion, please do remember ticking off ‘Apply to All’ option before you start.
Step 3: Adjust video and audio settings (Optional)
If necessary, you can click ‘Settings’ button and go to ‘Profiles Settings’ panel to modify video and audio settings like video encoder, resolution, video bit rate, frame rate, aspect ratio, audio encoder, sample rate, audio bit rate, and audio channels. 3D settings are also available.
Step 4: Click ‘Convert’ to start XF-AVC MXF files to MOV conversion.
Step 5: Click ‘Open Folder’ to get generated QuickTime files for using in iMovie with optimum performance.
Tips: MXF files are always HD content, so the conversion process may cost a little longer time. In this situation, you can tick off ‘Showdown computer when conversion completed’ and go away to do other things.
Related posts
Panasonic HVX200 P2 MXF and iMovie’8/9/11 workflow
Import Sony RX100 III 60p XAVC S/AVCHD files to iMovie
How to transcode Canon C500 MXF footage to AIC for iMovie?
60p video in iMovie-does iMovie properly handle 60fps video now?