Final Cut can’t read MXF footage shot with a Canon XF100 HD camcorder, what to do? This post guides you through the process of making FCP open Canon MXF clips.
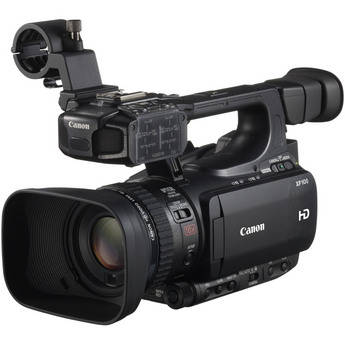
“Hey folks, my client sent me some .MXF clips on a wedding ceremony shot with a Canon XF100 camera. This is my first experience with the MXF format and it’s not possible for me to import mxf-files into FCP 7. Anyone have a clue as how I can salvage the MXF clips? If the Canon XF100 MXF footage can’t be edited in FCP 7 directly, what is the best codec for me to translate this to? I’m working on a 27-inch iMac running OS X Mavericks (10.9). Kind regards.”
 Our answer
Final Cut Pro can handle MXF footage directly through Log & Transfer function, but for some cameras, you need an import plugin, so FCP can handle the camera data. For Canon XF100 camera, you need download and install a Canon XF plugin before you can ingest with FCP. Then use Log and Transfer. You can’t use the files directly from the XF100 camera. They need to be converted.
What to do if you only have some separate MXF clips or the Canon driver not working for you?
In this situation, you can transcode MXF clips copied from Canon XF100 to Apple ProRes 422, the native editing format of Final Cut Pro. If you decided to perform format shifting using third party applications, we would recommend Video Converter for Mac. It handles camera footage shot with Canon, Sony, Panasonic, JVC, Nikon cameras in various file types, like MXF, AVCHD/MTS/M2TS, MOV, AVI, MPE, etc. and features optimal format presets for popular NLEs running on Mac OS X, such as Final Cut Pro, iMovie, Final Cut Express, Avid applications and more.
Download a free trial of Canon MXF Converter for Mac

How to transcode Canon XF100 MXF to ProRes for FCP?
Follow these steps:
Step 1: Import Canon XF100 MXF files
From the main interface, click ‘Add File’ icon to load mxf footage directly from your XF100 camera or from a card reader or from a achieved folder on your HDD that contains your data.

Step 2: Choose output format
From Format bar, choose ‘Final Cut Pro’ > ‘Apple ProRes 422(*.mov)’ as output format for Final Cut Pro.

Important: If you’ve loaded a number of video clips to do batch conversion, please do remember ticking off ‘Apply to All’ option before you start.
Step 3: Adjust video and audio settings (Optional)
If necessary, you can click ‘Settings’ button and go to ‘Profiles Settings’ panel to modify video and audio settings like video encoder, resolution, video bit rate, frame rate, aspect ratio, audio encoder, sample rate, audio bit rate, and audio channels. 3D settings are also available.
Step 4: Start encoding Canon MXF to ProRes 422
When ready, click ‘Convert’ to start rewrapping Canon MXF clips to Apple ProRes 422 for extending editing with Final Cut Pro 6/7 or the later FCP X.
Step 5: Find output files
Once the conversion is completed, click ‘Open Folder’ to locate the generated ProRes 422 QuickTime files for using in Final Cut Pro. Apple ProRes 422 is FCP’s native format, which means that files saved to this codec do not require any rendering in FCP in order to play them back.
Also Read
Import MXF footage into Avid Media Composer
Final Cut Pro 7 not recognizing my MXF file
Convert GXF files to QuickTime for editing and playing