Summary: If you intend to import Canon XA20 NTSC 1080-60p/PAL 1080-50p AVCHD to iMovie’11 for basic editing, you may find iMovie doesn’t support the XA20 60p/50p MTS clips at all. In that case, you will need to transcode XA20 60p/50p AVCHD to Apple InterMediate Codec (AIC), iMovie’s favorite editing codec before post-production.
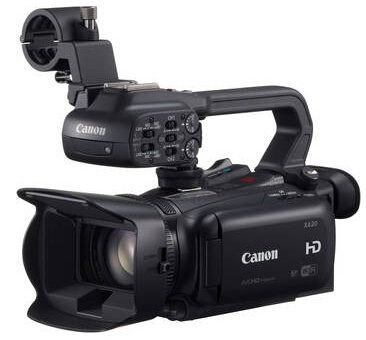 The Canon XA20 is a perfect fit for those who are on a tight budget and need something compact enough to take backpacking and remain unobtrusive wading through a crowd. It features compact design, impressive optical performance, excellent image quality, versatile recording modes and easy computer connectivity. The “run-and-gun” XA20 HD camcorder is able to capture high resolution AVCHD or MP4 video files at various frame rates up to 60p in NTSC mode, and up to 50p in PAL mode, including a 24p mode for a more cinematic feel.
The XA20 is flawless with FCP X and Mavericks OS, but if you intend to import XA20 NTSC 1080-60p/PAL 1080-50p AVCHD to iMovie’11 for basic editing, you may find iMovie doesn’t support XA20 60p/50p MTS clips at all. In that case, you will need to transcode XA20 60p/50p AVCHD to Apple InterMediate Codec (AIC), iMovie’s favorite editing codec before post-production. To do format conversion, you can try out Video Converter for Mac, which works excellently as a Canon AVCHD Converter for Mac.
Download a free trial of Canon AVCHD Converter for Mac

What can I do to import Canon XA20 NTSC 1080-60p/PAL 1080-50p AVCHD MTS videos to iMovie?
As mentioned above, to be able to import and edit Canon XA20 60p/50p MTS in iMovie smoothly, you will need to convert XA20 AVCHD footage to AIC for iMovie. To do format conversion, follow these steps:
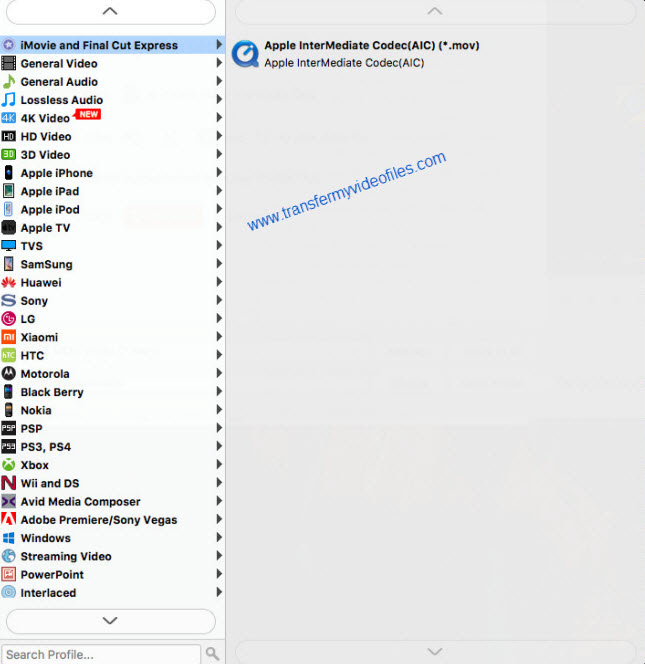
1. Install and run Video Converter for Mac as a Canon AVCHD Converter for Mac. The main interface appears as below:

2. Click on ‘Add File’ to add your XA20 60p/50p MTS footage to the program.
3. Select output format for iMovie
To create editable files for iMovie, from the Format bar, choose ‘Apple InterMediateCodec (AIC) (*.mov) as output format from ‘iMovie and Final Cut Express’ column. Note that the AIC codec is also accepted by Final Cut Express and Final Cut Pro (HD 4.5 through 5), but rarely used in Final Cut Pro as of Version 6 since it now uses the ProRes codecs instead of the Apple Intermediate Codec.
Important: If you’ve loaded a number of video clips to do batch conversion, please do remember ticking off ‘Apply to All’ option before you start.
4. Click ‘Settings’ button and go to ‘Profile Settings’ window to custom video and audio settings. (for advanced users)
5. When ready, click ‘Convert’ to start transcoding XA20 NTSC 1080-60p/PAL 1080-50p AVCHD footage to AIC – the best suited editing format for using within Apple iMovie.
6. When the conversion process is done, click on ‘Open Folder’ button to get the generated AIC QuickTime files and open them in iMovie for further editing.
Related posts
Mac Canon VIXIA AVCHD Converter: transfer VIXIA MTS to Mac
Transcode Canon G30 AVCHD MTS to DNxHD for DaVinci Resolve
AVCHD and Avid workflow – Transcode AVCHD to DNxHD for Avid import