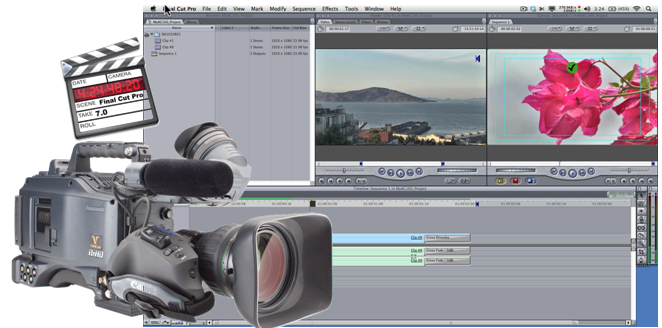
If you have issues when use ‘Log and Transfer’ to open MXF file within FCP 7, this post may shed you some lights on your problem. It describes how to create Apple ProRes QuickTime files for Final Cut Pro 7 from MXF files shot on a Canon C300, Canon XF105, Panasonic AG-HVX200, etc.
In order to make FCP read MXF files via ‘Log and Transfer’ you need:
1. Download and install the correct plugin that your camera manufacturer provided.
2. Copy everything from your camera card, in the exact same folder structure, as it appears on the card. You cannot copy over just the MXF files. (Of course, you can directly load from a camera)
3. Use ‘Log and Transfer’ to select the folder that contains your MXF clips
If FCP 7 not recognizing your MXF file and an error message pops up saying it contains unsupported media or has an invalid directory structure, you might try MXF Converter for Mac, which creates Apple ProRes 422 QuickTime (MOV) files from MXF clips generated by Canon XF series, Sony XDCAM, Panasonic P2 cameras. It can also be used to export AIC files for iMovie/FCE, DNxHD files for Avid Media Composer, and editable files for Premiere Pro.
Download a free trial of MXF Converter for FCP 6/7/X

Notes:
1. When converting MXF footage using Final Cut Pro oriented format templates (e.g. Apple ProRes), please ensure that your computer has Final Cut Pro installed, otherwise the converted files will have audio only without image.
2. If you are using FCP X, please make sure you have installed ProApps QuickTime Codecs, or you may get files with sound only without video.
Converting MXF to Apple ProRes MOV for opening in Final Cut Pro 7
Step 1: Install this MXF Mac Converter software on your computer, launch it and click ‘Add File’ to ingest your source media from your camera or from an achieved folder.
Caution: The folder that you selected to import MXF files must have the complete file structure as it appears on the camera card, if not, you may have image only with audio lost. This is usually happened on P2 MXF files, because the video files and audio files are stored in two different folders.

Step 2: Select ‘Apple ProRes 422 (*.mov)’ as output format for opening with FCP 7
From the Format bar, move to ‘Final Cut Pro’ catalogue, and select ‘Apple ProRes 422 (*.mov)’ as target format. Apple ProRes is the best suited editing code for FCP 6, 7 and FCP X. When loading them into FCP, you needn’t wait for a long time for rendering.

Important: If you’ve loaded a number of video clips to do batch conversion, please do remember ticking off ‘Apply to All’ option before you start.
Step 3: Custom video and audio settings (for advanced users)
Click ‘Settings’ button, the ‘Profile Settings’ window pops up, on which you are allowed to custom video and audio parameters like bit rate, frame rate, resolution, sample rate, and audio channels.
Step 4: Start transcoding MXF file to QuickTime ProRes for FCP 7
When ready, click ‘Convert’ to transcode MXF files to Apple ProRes for using with FCP 7. MXF files are always HD content, so the conversion process may costs a little longer time. In this situation, you can tick off ‘Shut down computer when conversion completed’ and go away to do other things.
Step 5: Click ‘Open Folder’ button to locate exported ProRes files
As soon as the conversion process finished, simply click ‘Open Folder’ button to get the generated Apple ProRes files. Now you are able to open them in Final Cut for further editing without any import issues.
Also read:
Why Adobe Premiere Pro CS6 can’t import MXF video files?
How can I import MXF footage into Avid Media Composer?
Convert P2 MXF to ProRes for FCP 6/7/X without losing sound
MXF and Vegas – How can I edit MXF video files in Sony Vegas?