Summary: If you have to convert Panasonic GH3 AVCHD movie files to QuickTime so they would work with Avid Media Composer, you may have interest in this post. It displays the detailed steps required to transcode GH3 AVCHD to DNxHD MOV for use in Avid systems.
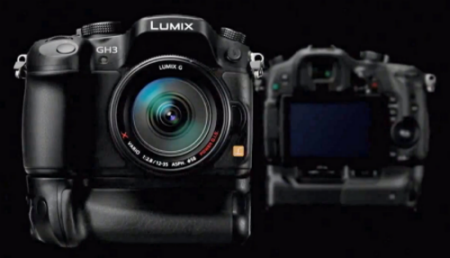 Needed a Lumix GH3 AVCHD Converter for Avid to work with my home videos
“Hi, there all, I needed to convert my family’s home videos, particular from AVCHD format shot on a Panasonic Lumix GH3 camera to work with Avid MC 5 on my iMac. The reason for editing GH3 AVCHD files in Avid is for the grandparents (and great-grandparents) to be able to see their young grandchildren. Since I could not use the AVCHD files directly from the camera, and other converters were not able to do what I wanted, I have to look for a workable converter that is capable of converting GH3 MTS clips to MOV for use in Avid. Does anyone know such a converter program? Any suggestions? Thanks.”
Our Quick Answer
Working excellently as a Panasonic Lumix AVCHD Converter, our Video Converter utility is your smart choice to do GH3 MTS to Avid Conversion. It comes in both Windows and Mac version, and offers optimized DNxHD MOV format preset for editing in Avid apps with best quality.
Download a free trial of Video Converter


Panasonic GH3 and Avid workflow – transcode GH3 MTS to DNxHD MOV
Follow these steps:
Step 1: Start up Video Converter as a Lumix GH3 AVCHD Converter for Avid. When its main interface pops up, click ‘Add Video’ to input your source media.

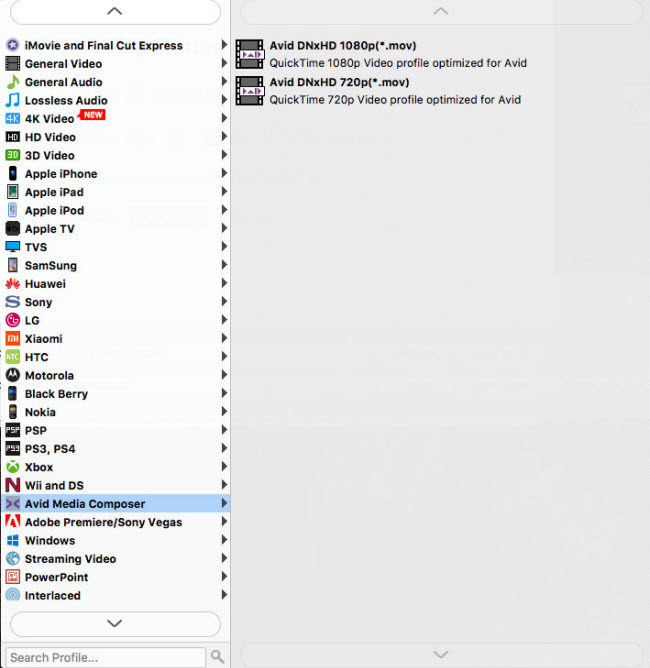
Step 2: Choose output format for Avid MC
From ‘Format’ bar, select ‘Avid DNxHD (*.mov)’ as output format under ‘Avid Media Composer’ column.
Important: If you’ve loaded a number of video clips to do batch conversion, please do remember ticking off ‘Apply to All’ option before you start.
Step 3: Custom video and audio settings
If necessary, you can click ‘Settings’ button and go to ‘Profiles Settings’ panel to modify video and audio settings like video encoder, resolution, video bit rate, frame rate, aspect ratio, audio encoder, sample rate, audio bit rate, and audio channels. 3D settings are also available.
Step 4: Start Lumix GH3 MTS to DNxHD MOV Conversion
When ready, click ‘Convert’ to start format conversion. As soon as the conversion is complete, you can click ‘Open Folder’ button to get the exported DNxHD MOV files for use with Avid apps.
Related posts
Best way to convert GH3 footage to iMovie editable files
Working with Lumix GH3 AVCHD/MOV/MP4 footage in FCP 7/6/X
Sony EX 3 and Avid workflow: convert EX 3 MP4 to MOV for Avid
Transfer Canon SX50 HS footage to Mac for iMovie, FCE and FCP X