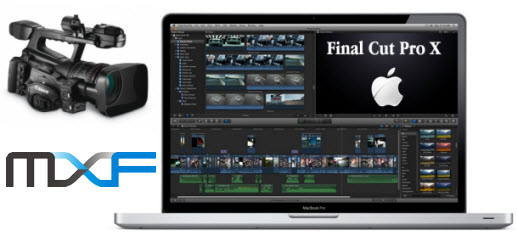
Couldn’t load Canon MXF files into FCP X for editing? If so, this post may help you out. It presents a workaround to transcode Canon MXF to ProRes for use in FCP X with optimum performance.

MXF is a “container” or “wrapper” format which supports a number of different streams of coded “essence”, encoded with any of a variety of codecs, together with a metadata wrapper which describes the material contained within the MXF file. To be able to import MXF media from Canon XF and Cinema EOS cameras directly into Final Cut Pro X, you will need to download and install the Canon XF Plug-in, a free of charge plug-in created by Canon. You can download the plug-in on the Drivers & Software areas for the EOS C300, EOS C500XF100, XF105, XF200, XF205, XF300, and XF305 respectively.
If for some reason the XF plug-in won’t work, you are suggested to convert Canon MXF to ProRes codec before editing. This requires third party software like HD Video Converter for Mac. Read on to find a detailed guide demonstrating how to use this app as a Canon MXF to ProRes Converter to convert Canon XF/ Cinema EOS MXF media to ProRes for FCP X editing.
Download a demo of HD Video Converter for Mac

Canon MXF and FCP X – how to transcode Canon XF/Cinema EOS MXF files to ProRes 422 for transferring to FCP X more flawlessly?
Follow these steps:
Step 1: Run HD Video Converter for Mac as a professional Canon MXF to FCP X Converter. When its main interface comes up, click ‘Add File’ to load source video to it.

Step 2: Select ‘Apple ProRes 422 (*.mov)’ as output format for opening with FCP X
From the Format bar, move to ‘Final Cut Pro’ catalogue, and select ‘Apple ProRes 422 (*.mov)’ as target format. Apple ProRes is the best suited editing codec for FCP X and its former version FCP 6 and 7. When loading them into FCP (X), you needn’t wait for a long time for rendering.

Important: If you’ve loaded a number of video clips to do batch conversion, please do remember ticking off ‘Apply to All’ option before you start.
Step 3: Adjust video and audio settings (for advanced users)
If necessary, you can click ‘Settings’ button and go to ‘Profiles Settings’ panel to modify video and audio settings like video encoder, resolution, video bit rate, frame rate, aspect ratio, audio encoder, sample rate, audio bit rate, and audio channels. 3D settings are also available.
Step 4: Click ‘Convert’ to start Canon MXF to ProRes MOV conversion.
Step 5: Click ‘Open Folder’ to get generated ProRes 422 QuickTime files for transferring and editing in Final Cut Pro X/7/6 with optimum performance.
Related posts
Sony a5100 and FCP X – convert a5100 video files to ProRes
Nikon D5300 to FCP X Converter – encode D5300 MOV to ProRes
I couldn’t get Premiere Pro CS6 to recognize audio on MTS files
AVCHD and Avid – Transcode AVCHD to DNxHD for Avid import
Is lossless conversion of AVCHD to AIC for iMovie/FCE possible?
