If you are in search of a Mac XDCAM converter application to transcode XDCAM .mxf files on Mac, you are in the right place. This post walks you through how to convert XDCAM .mxf files on a Mac machine for editing or playing.

Why need to convert XDCAM files on Mac?
You may need to encode XDCAM .mxf files on Mac for various reasons. Here’s a summary of them.
Reason #1: iMovie and FCE don’t have native support for Sony XDCAM
If you find iMovie and the discontinued Final Cut Express do not have native support for XDCAM files, you’re suggested to transcode XDCAM MXF files to AIC .mov, iMovie and FCE’s favorite editing codec, which they can recognize and handle well. This requires a XDCAM MXF to MOV Converter to convert XDCAM files on Mac.
Reason #2: The XAVC/XDCAM Plug-in for Apple (PDZK-LT2) plug-in doesn’t work for FCP X
To be able to import Sony XDCAM, XDCAM HD, and XDCAM EX media into Final Cut Pro X, you’ll need to download and install the XAVC/XDCAM Plug-in for Apple (PDZK-LT2) provided by Sony. If the plug-in doesn’t work correctly, you may need a Sony XDCAM Video Converter for Mac to encode XDCAM MXF files to MOV format with ProRes codec for working with FCP X.
Reason #3: AMA plug-in doesn’t work for viewing and editing XDCAM footage in Avid
The XAVC/XDCAM Plug-in for Avid (PDZK-MA2) plug-in supports for XAVC and XDCAM / XDCAM EX files in Avid Media Composer, Symphony and NewsCutter products, if this plug-in can not run on your Mac properly, we do recommend using third party XDCAM MXF Converter for Mac to process file conversion.
Reason #4: The editing performance is unstable and unreliable
Your Mac editing program allows for easy and direct importing of XDCAM videos from your camcorder, but it is very unreliable and unstable, so you needed something else to convert them first to a format that is full compatible with your editing application. In that case, you will need a third party XDCAM file converter to transcode XDCAM footage on Mac.
Reason #5: You don’t have the entire folder structure of the XDCAM footage
If you only have some loose .mxf video clips copied from a XDCAM camera, without preserving the complete folder structure, you will run into incompatibility issues while importing them to your Mac NLEs. If that’s the case, a Mac Sony XDCAM MXF Converter will be a lifesaver for you.
For those who need to encode XDCAM mxf files on Mac, HD Converter for Mac is an ideal choice. It provides optimal format presets for mostly used NLEs like iMovie, FCE, FCP, Avid, Adobe Premiere, DaVinci Resolve, Edius, Sony Vegas and more, being able to convert XDCAM MXF video to MOV format with Apple ProRes, Avid DNxHD, Apple InterMediate Codec (AIC), DVCPRO, HDV, DV codec maintaining original quality of your source media.
How to convert XDCAM .mxf files on Mac?
Here’s what you need
HD Converter for Mac
You can download a demo version to have a try. It is not free but it is totally worth it.

Follow these steps:
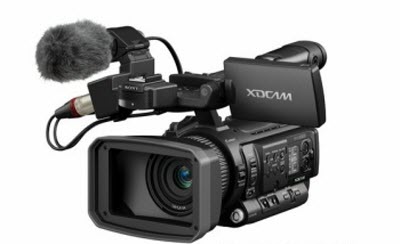
Step 1: Start up HD Converter for Mac as a Mac Sony XDCAM video Converter. Once the main interface pops up, click ‘Add Video’ or ‘Add from folder’ button to import source media captured by a PMW-500, PMW-400, XDS-PD2000, PDW-HR1 or some camera similar. You can load directly from your camera or from a card reader, or from a folder on your HDD that contains your media data.

Step 2: Select output format for your editing programs
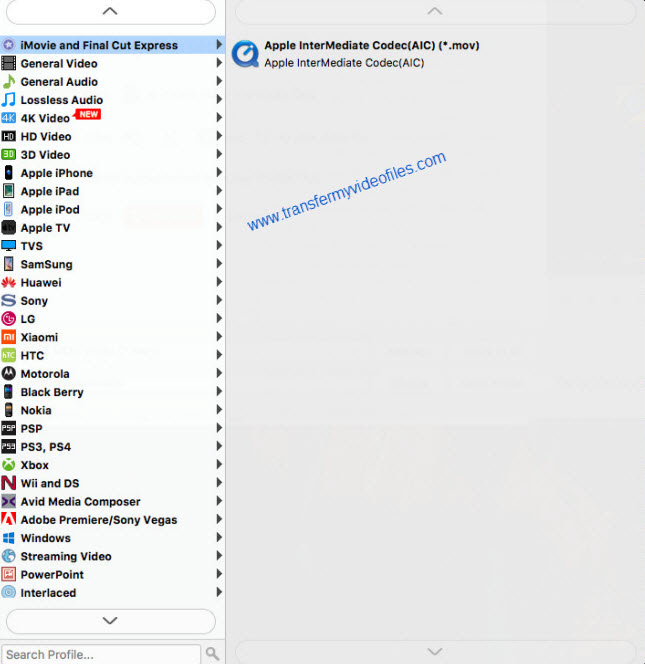
In order to edit Sony XDCAM MXF files in iMovie and FCE, from the Format bar, choose ‘Apple InterMediateCodec (AIC) (*.mov) as output format from ‘iMovie and Final Cut Express’ catalogue.

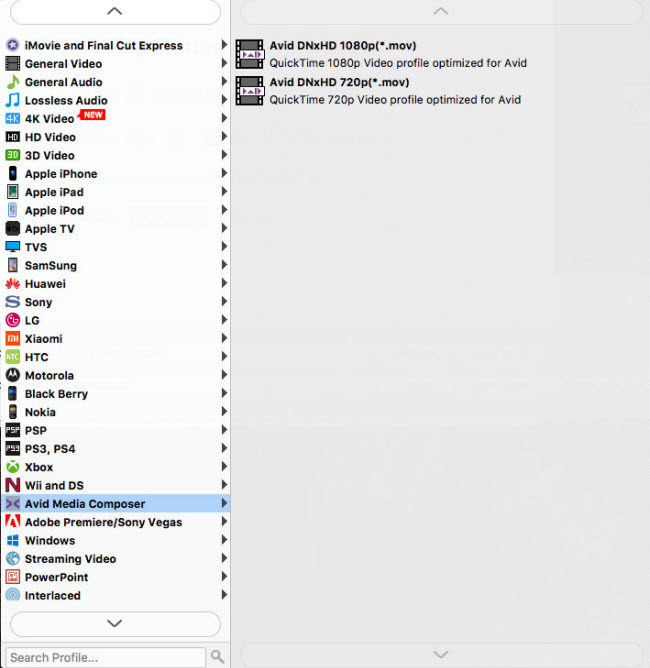
For the purpose of importing and editing Sony XDCAM MXF video files in Avid, Premiere or DaVinci Resolve, from the Format bar, choose ‘Avid DNxHD(*.mov)’ as output format from ‘Avid Media Composer’ column.

To be able to use Sony XDCAM/XDCAM HD MXF footage in FCP 7/6, FCP X, Premiere or DaVinci Resolve, from the Format bar, choose ‘Apple ProRes 422 (*.mov)’ as output format from ‘Final Cut Pro’ catalogue.

Step 3: Custom video and audio settings (for advanced user)
If you are an advanced user and want to adjust video and audio settings like bit rate, frame rate, etc. in your own way, you can click ‘Setting’ button and go to ‘Profile Settings’ panel to do so, if not, simply skip this step.
Step 4: When ready, click the ‘Convert’ button to start converting Sony XDCAM MXF footage to MOV for using within iMovie, FCE, Avid, FCP (X), Premiere or DaVinci Resolve.
Tips: You can tick off ‘Shut down computer after conversion’ checkbox, and go away to do other things instead of waiting around in front of the computer for the entire conversion process.
Step 5: When the conversion finished, click ‘Open’ button to find the generated MOV QuickTime files for editing with your NLEs with optimum performance.
Related posts
How can I import Sony XDCAM EX MP4 footage to Premiere Pro?
How to convert Sony EX1 MP4 video files to Apple ProRes on Mac?
What’s the best workflow between Sony PMW-EX3 and Avid MC?
How to rewrap Sony XDCAM/XDCAM HD/XDCAM EX footage to MOV
