Summary: This post explains what to do if Premiere Pro CS6 refused accepting Ikegami MXF files as import. If you are looking for the best workflow between Ikegami and Adobe Premiere, you can simply follow it.
 Importing Ikegami GFCAM MXF files crashing Premiere Pro CS6
”Hi, all, Can anyone help please? I have someIkegami footage in MXF format taken with a GFCAM HDS-V10 that I needed to import to PPro CS6 for editing. Unfortunately PPro CS6 does not seem to recognize the GFCAM MXF files. Every time when I tried to import, Premiere just crashed. Does anyone have suggestions for the best workflow between Ikegami GFCAM footage and Adobe Premiere? Thank a lot for your help.”
What to do if you have Ikegami MXF footage that fails to import to Premiere Pro CS6? Transcoding Ikegami footage into an intermediate format that Premiere Pro CS6 can deal with, e.g. DNxHD MOV on PC, and ProRes MOV on Mac, is the way to go. You can use HD Video Converter as an Ikegami GFCAM MXF Converter to do format conversion. It offers optimal format presets for both NLE applications and portable devices.
Download a free trial of HD Video Converter


How to transcode Ikegami GFCAM MXF to QuickTime MOV for Premiere?
Follow these steps:
Step 1: Start up HD Video Converter as an Ikegami MXF to MOV Converter for CS6.
Step 2: Click ‘Add File’ to import your source media to the program.
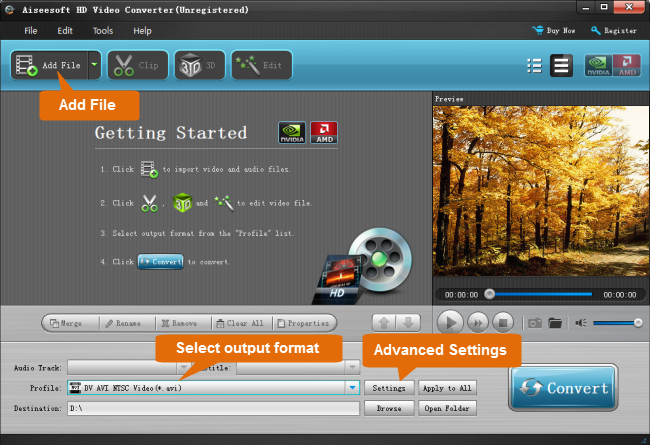
Step 3: Select output format
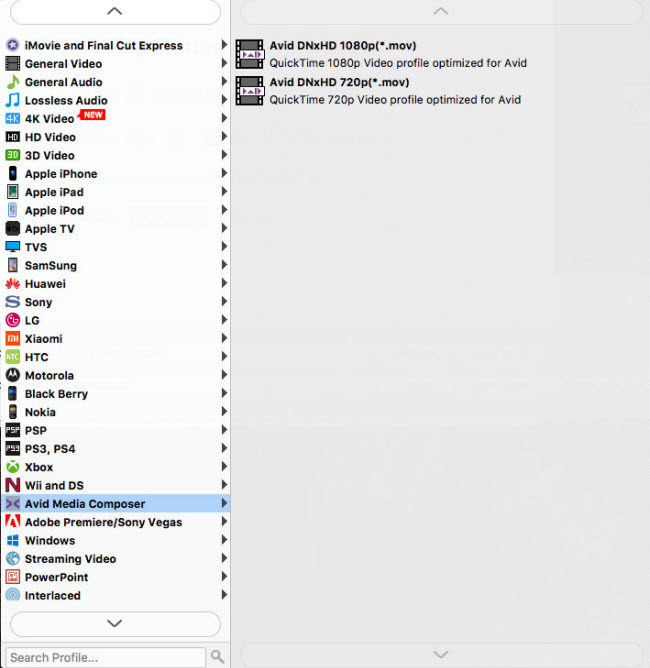
We would recommend converting Ikegami GFCAM MXF to DNxHD MOV for CS6 on Windows and transcoding Ikegami GFCAM MXF to ProRes MOV for CS6 on Mac.
* If you are on a Windows PC, from the Profile list, choose ‘Avid DNxHD 1080p (*.mov)’ as output under ‘Avid Media Composer’ column.
** If you are on a Mac computer, and already have FCP installed, you can from the Profile list, choose ‘Apple ProRes 422 (*.mov)’ as target under ‘Final Cut Pro’ catalogue.

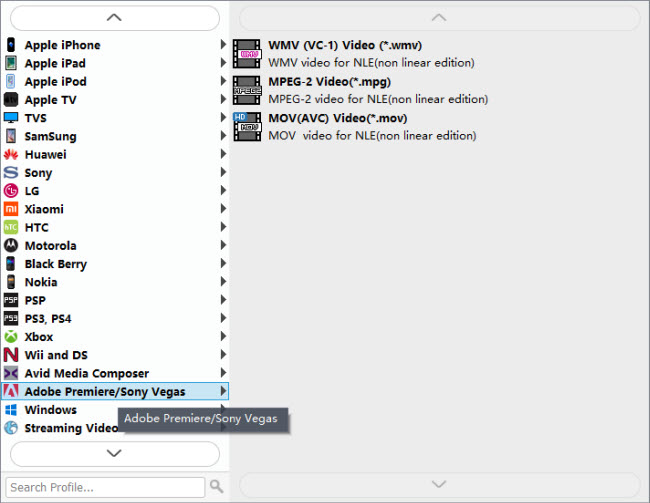
*** You can also select ‘MOV (AVC) (*.mov)’ as output format under ‘Adobe Premiere/Sony Vegas’ option.
Step 4: Custom video and audio settings (for advanced users)
Click ‘Settings’ button, the ‘Profile Settings’ panel pops up, on which you are able to modify video and audio settings like resolution, bit rate, frame rate, sample rate and audio channel.
Step 5: When ready, click ‘Convert’ to start transcoding Ikegami GFCAM MXF files to Premiere Pro CS6 supported QuickTime MOV format. As soon as the conversion is complete, click ‘Open Folder’ button to locate the generated files and now you are able to open them in PP CS6 for further editing.
Also read
Why Premiere Pro CS6 can’t import MXF files?
Import MXF footage into Avid Media Composer
How can I import Canon C300 MXF to FCP 6/7/X?
Transcode HPX200/HPX250 MXF to ProRes 422 for FCP