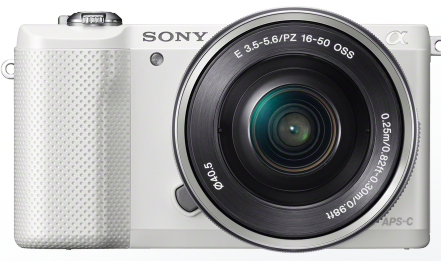
Failed to import Sony AVCHD footage into iMovie 10.1.8 on macOS High Sierra? Actually, it’s an common issue related to iMovie and High Sierra. Before Apple provides a fix, currently, users need to transcode Sony AVCHD videos to AIC first for a fluid workflow in iMovie 10.1.8.

iMovie 10.1.8 won’t import AVCHD footage from Sony a5000 camera
“After upgraded to iMovie 10.1.8 and macOS High Sierra, I cannot import AVCHD footage from my Sony A5000 camera to iMovie any longer. It’s so frustrating! I’m using an Early 2011 15″ MacBook Pro. iMovie worked fine before I updated and now makes no progress when importing video. Does anyone know of a workaround? Thanks.”
This is a known issue between iMovie and macOS High Sierra. To solve the issue, we would recommend converting Sony AVCHD files to AIC mov previously and see if that works for you. That is the only solution that has been posted as successful.
How to convert Sony AVCHD files for iMovie editing on macOS High Sierra?
Here’s what you need
HD Video Converter for Mac

The steps:
Step 1: Open up HD Converter for Mac as a Sony AVCHD Converter for High Sierra iMovie. When its main interface comes up, click ‘Add File’ to load your source media.

Step 2: Select output format for iMovie
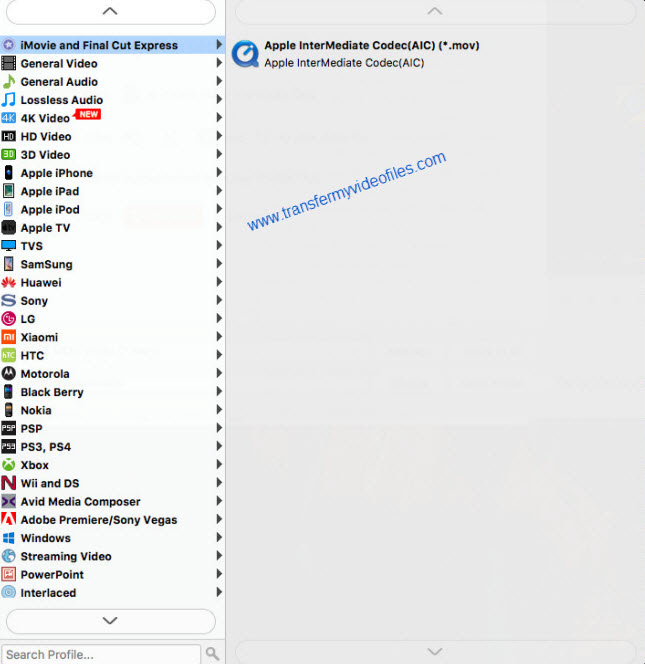
To convert Sony AVCHD video files for iMovie on High Sierra, from ‘Profile’ list, choose ‘Apple InterMediate Codec (AIC)(*.mov)’ as output format under ‘iMovie and Final Cut Express’ column. This codec is also suitable for use in the discontinued FCE.

Important: If you’ve loaded a number of video clips to do batch conversion, please do remember ticking off ‘Apply to All’ option before you start.
Step 3: Custom video and audio settings (optional)
If necessary, you can click ‘Settings’ button and go to ‘Profiles Settings’ panel to modify video and audio settings like video encoder, resolution, video bit rate, frame rate, aspect ratio, audio encoder, sample rate, audio bit rate, and audio channels. 3D settings are also available.
Step 4: Begin Sony AVCHD to AIC MOV Conversion for iMovie on High Sierra
When ready, click ‘Convert’ to start format conversion. Once the conversion process is complete, you can click ‘Open Folder’ button to get the generated AIC MOV files for editing in iMovie with optimum performance.
Tips:
If you don’t want to wait for the entire conversion process, you can tick off ‘Shut down computer when conversion completed’ and go away to do other things.
Related posts
How to edit Sony a6500 4K XAVC-S in FCP X?
XAVC converting to FCP 7 free app-convert XAVC to ProRes
iMovie 10.1.8 don’t import AVCHD from Panasonic Camcorder
How do you edit Lumix FZ2000 4K footage in iMovie?
Import HEVC x265 to Premiere: “codec missing or unavailable” error
