Summary: This thread explains Phantom Flex camera MXF import workflow with Avid Media Composer, Final Cut Pro and Adobe Premiere Pro CS6.
“Anyone know of a smooth workflow going from Phantom Flex camera MXF footage to Final Cut Studio 7? I’m working on Mac OS X Mavericks 10.9.1 with FCP 7.0.4. Every time when I tried to import Phantom Flex MXF NTSC video files to FCP, it refused to read them. Now I want to figure out how to make FCP 7 work with my Phantom Flex MXF media. Please enlighten me! Thank you so much!”
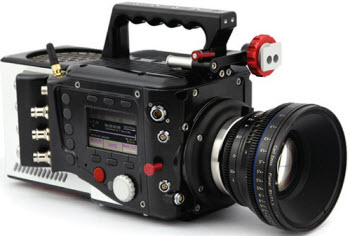 Being a high-speed digital camera, the Phantom Flex camera is capable of shooting from 5 frames-per-second (fps) to over 10,750 fps, recording in a wide variety of file formats, ranging from Cine, Cine Compressed, Cine RAW, AVI, h.264 mp4, to Apple ProRes .mov, Multipage TIFF, MXF PAL, MXF NTSC, Uncompressed QuickTime, and Windows BMP, OS/2 BMP, PCX, TGA, TIFF, LEAD, JPEG, JTIF, RAW, DNG, DPX. If you have import issues while editing Phantom Flex MXF footage in FCP 7, we would recommend that you transcode Phantom Flex MXF to Apple’s ProRes codec, the best suited codec for editing within FCP 7 and its former version FCP 6, and later version FCP X. The transcoding method is also helpful when you want to edit Phantom Flex camera MXF in Adobe Premiere Pro CS6 and Avid Media Composer.
To do format conversion, third party software is required. If your concerns are ease of use and great file quality as the original, we would recommend HD Video Converter.
Download a free trial of HD Video Converter


How to transcode Phantom Flex camera MXF to FCP, Avid and Premiere Pro CS6?
Follow these steps:
Step 1: Run HD Video Converter as a professional Phantom Flex MXF Converter. When the main interface pops up, you can click ‘Add File’ button to load MXF data into this program.

Step 2: Choose output format
1) Select output format for converting Phantom Flex MXF to FCP 6/7/X
Click “Format” bar to choose ‘Apple ProRes 422 (*.mov)’ as output format under ‘Final Cut Pro’ column. The ProRes 422 is a good option for the Phantom Flex MXF files, and the file size is reasonable.

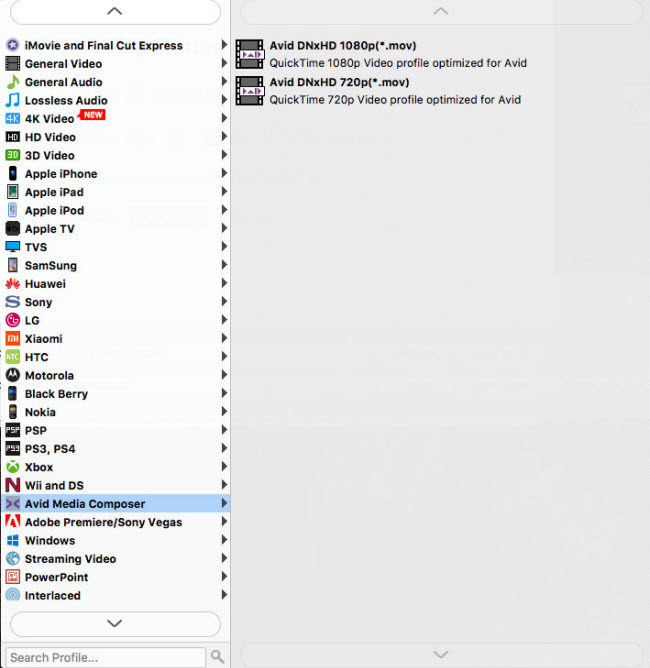
2) Choose output format for encoding Phantom Flex MXF to Avid MC
From the ‘Format’ bar, choose ‘Avid Media Composer’ > ‘Avid DNxHD (*.mov)’ as output format.
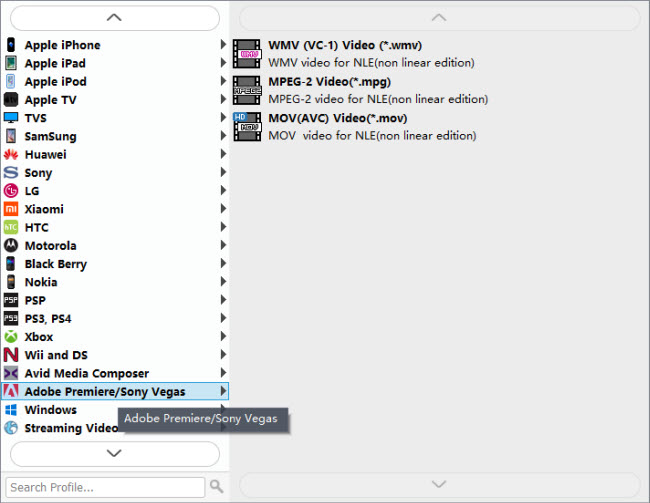
3) Select output format for transcoding Phantom Flex MXF to PP CS6
If you are on a Mac, we would recommend ‘Final Cut Pro’ > ‘Apple ProRes 422 (*.mov)’; if you are on a PC, we would recommend ‘Avid Media Composer’ > ‘Avid DNxHD (*.mov)’.
In addition to DNxHD and ProRes, you can also select ‘MOV (AVC) (*.mov)’ as output format under ‘Adobe Premiere/Sony Vegas’ option.
Step 3: Custom video and audio settings (for advanced user)
You are allowed to click “Settings” button to custom video and audio parameters like resolution, bit rate, frame rate, sample rate, and audio channel on ‘Profile Settings’ panel.
Step 4: Click ‘Convert’ button to start converting Phantom Flex MXF video to QuickTime files for using with Final Cut Pro, Avid and Premiere Pro CS6.
Step 5: After conversion finished, click “Open Folder” button to get the exported for using in Final Cut Pro, Avid Media Composer or PP CS6.
Also read
Trouble working with MXF files in DaVinci Resolve
Free download XF plugin for FCP X & XF100/105/300/305/C300/C500
FCP 7 not recognizing my MXF file – convert MXF to ProRes for FCP 7