If you are looking for a smooth workflow for working with Canon XC10 XF-AVC files in Davinci Resolve, you may have interest in this post. It presents a workaround to transcode XC10 4k/1080p XF-AVC media for use in DaVinci Resolve flawlessly.
The XC10 is Canon’s entry-level Cinema EOS camera. With video recording in the MXF-based XF-AVC file format, a 64GB CFast 2.0 card will give you approximately 25 minutes of recording in the top 4K mode. Full HD uses Long GOP format at 50Mbits/sec, which means it will meet broadcast TV standards.
Although XF-AVC is a new proprietary video format for the efficient recording of high-image-quality 4K, 2K and HD video footage, Canon has officially announced that XF-AVC is compatible with Grass Valley. For those who still have issues editing Canon XC10 XF-AVC files in DaVinci Resolve, we would recommend converting them first. That’s where a Canon XF-AVC Converter comes in. Read on to learn a quick guide on how to convert XC10 XF-AVC footage to DNxHD/ProRes for use in DaVinci Resolve fluidly.
[Guide] How to encode Canon XC10 XF-AVC for DaVinci Resolve editing?
Required program
HD Video Converter


Download and install HD Video Converter, then follow these steps:
Step 1: Run HD Video Converter as a professional Canon XC10 XF-AVC to DaVinci Resolve Converter. When its main interface comes up, click ‘Add File’ to load source video to it.

Step 2: Select output format for DaVinci Resolve
1) Convert XF-AVC to ProRes for Resolve
From ‘Profile’ list, move to ‘Final Cut Pro’ catalogue, and select ‘Apple ProRes 422 (*.mov)’ as target format.

Note that the ProRes output is only valid in the Mac version of HD Video Converter.
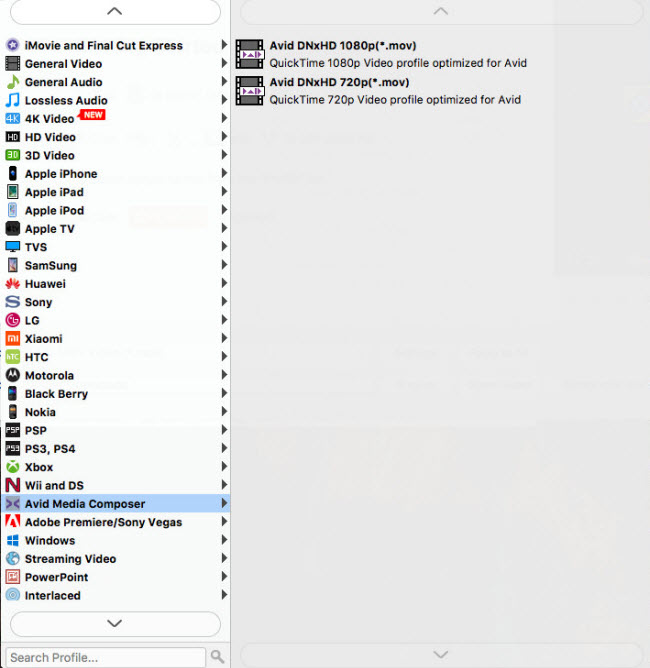
2) Transcode Canon XC10 XF-AVC to DNxHD for DaVinci Resolve
From ‘Profile’ list, select ‘Avid DNxHD (*.mov)’ as output format under ‘Avid Media Composer’ column.
Important: If you’ve loaded a number of video clips to do batch conversion, please do remember ticking off ‘Apply to All’ option before you start.
Step 3: Adjust video and audio settings (for advanced users)
If necessary, you can click ‘Settings’ button and go to ‘Profiles Settings’ panel to modify video and audio settings like video encoder, resolution, video bit rate, frame rate, aspect ratio, audio encoder, sample rate, audio bit rate, and audio channels. 3D settings are also available.
Step 4: Click ‘Convert’ to start Canon XC10 XF-AVC files to ProRes/DNxHD conversion.
Step 5: Click ‘Open Folder’ to get generated ProRes/DNxHD QuickTime files for use in DaVinci Resolve with optimum performance.
Related posts
Trouble working with MXF files in DaVinci Resolve
Sony PXW-Z100 4K XAVC to FCP and DaVinci Resolve
How to import and edit AVCHD footage within DaVinci Resolve?
DaVinci Resolve workflow with Sony F55/F5 XAVC MXF footage