Final Cut Pro X pops up “No Importable Files” error while importing MXF files? This often happens when you try to load loose MXF clips into FCP X. Also, there may be other reasons that may cause this issue. Learn a workaround to transcode bare MXF clips to ProRes codec for use in FCP X with optimum performance.
Import Canon MXF to FCP X: No Importable Files
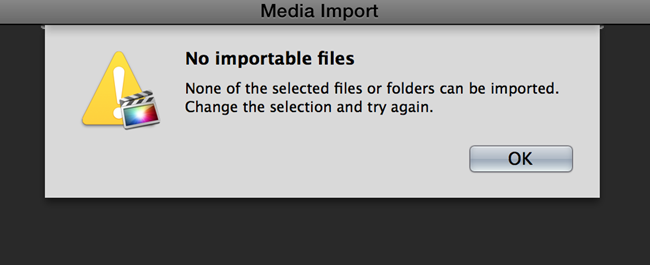
“Hi all, I’m trying to import MXF files shot on Canon XF100 to FCP X from an external hard drive. Unfortunately, I’m getting a ‘No importable files’ message saying ‘None of the selected files or folders can be imported. Change the selection and try again.’
I have installed the Canon XF Plugin. Is there anything I can do to solve the issue? Please suggest a solution if you know. Thanks in advance.”
It sounds like you got the bare MXF files and not the full folder structure created by the camera. Get the whole folder structure and FCP X will import the media in a heartbeat. No folder structure, no import. If for any reason you’ve lost the complete folder structure, you will need to transcode them to ProRes first. Here is a guide telling you how to do this.
How to convert MXF files to ProRes for FCP X editing?
Here’s what you need
HD Converter for Mac (it works well as an MXF Converter for FCP X)

Follow these steps:
Step 1: Install this Video Converter software on your computer, launch it and click ‘Add File’ to ingest your source media.

Step 2: Select ‘Apple ProRes 422 (*.mov)’ as output format for opening with FCP X
From the ‘Profile’ menu, move to ‘Final Cut Pro’ catalogue, and select ‘Apple ProRes 422 (*.mov)’ as target format. Apple ProRes is the best suited editing code for FCP X. When loading them into FCP, you needn’t wait for a long time for rendering.

Important: If you’ve loaded a number of video clips to do batch conversion, please do remember ticking off ‘Apply to All’ option before you start.
Step 3: Custom video and audio settings (for advanced users)
Click ‘Settings’ button, the ‘Profile Settings’ window pops up, on which you are allowed to custom video and audio parameters like bit rate, frame rate, resolution, sample rate, and audio channels.
Step 4: Start transcoding MXF clips to Apple ProRes for FCP X
When ready, click ‘Convert’ to transcode MXF video to Apple ProRes for using with FCP X. You can tick off ‘Shut down computer when conversion completed’ and go away to do other things.
Step 5: Click ‘Open Folder’ button to locate exported ProRes files
As soon as the conversion process finished, simply click ‘Open Folder’ button to get the generated Apple ProRes files. Now you are able to open them in Final Cut X for further editing without any hassles.
Also read
How do you edit DJI H.265 footage in FCP X?
HEVC in FCP X-issues editing HEVC video in FCP X
H.265/HEVC AMA plugin for Avid Media Composer
How to convert Hero 6 240 fps H.265 video to ProRes?