If you are having issues importing Panasonic HX-A100 footage to iMovie 8, 9, 11 for post production, this post is to help you out. It elaborates how to convert HX-A100 MPEG-4 video to Apple InterMediate Codec (AIC) format for editing in iMovie 8/9/11 smoothly preserving original quality of the source file.
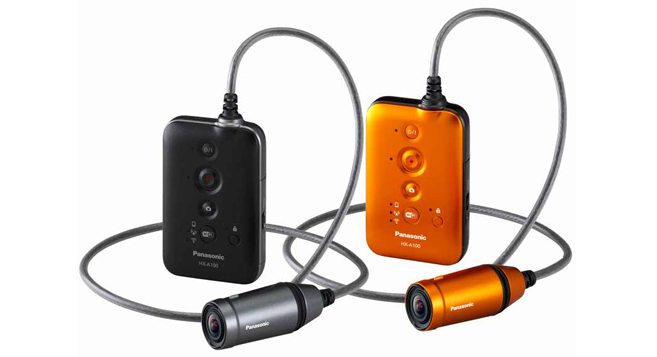
Panasonic is trying to attract sports enthusiasts with the HX-A100 action camera. One of the greatest things about the HX-A100 is the built-in image stabilization system. It effectively suppresses the unwanted blurring caused by sudden shakes. What the HX-A100 does have is a rather impressive variety of recording modes including Full HD 1080p in both 60p and 30p flavors so you can have very smooth playback without sacrificing quality. 720p remains as an option if you want to save file size. Finally, there is a Slow Motion mode which is always a fun feature to have.
As far as we know, in order to edit Panasonic HX-A100 video files in iMovie 8,9,11 flawlessly, the best method is to convert Panasonic HX-A100 video to Apple InterMediate Codec (AIC) which is a best suitable for editing in iMovie 8,9,11. Read on to learn a quick guide on how to encode HX-A100 recordings to iMovie preferred editing codec.
[Guide] How to encode Panasonic HX-A100 video to AIC for iMovie?
Here’s what you need
HD Video Converter for Mac

Step 1: Open up HD Video Converter for Mac as a Panasonic HX-A100 Converter for Mac. When its main interface comes up, click ‘Add File’ to load your source media.

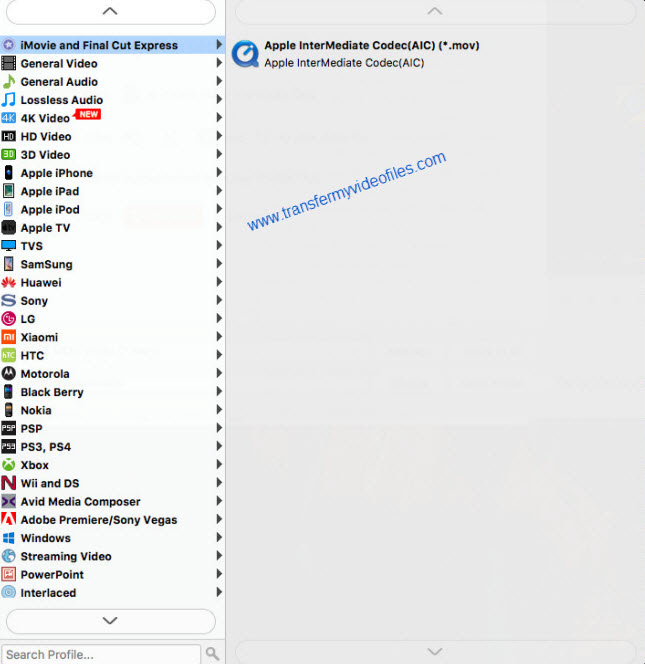
Step 2: Select output format for your editing program
To convert Panasonic HX-A100 video for iMovie, from ‘Profile’ list, choose ‘Apple InterMediate Codec (AIC)(*.mov)’ as output format under ‘iMovie and Final Cut Express’ column.
Important: If you’ve loaded a number of video clips to do batch conversion, please do remember ticking off ‘Apply to All’ option before you start.
Step 3: Custom video and audio settings (optional)
If necessary, you can click ‘Settings’ button and go to ‘Profiles Settings’ panel to modify video and audio settings like video encoder, resolution, video bit rate, frame rate, aspect ratio, audio encoder, sample rate, audio bit rate, and audio channels. 3D settings are also available.
Step 4: Begin Panasonic HX-A100 video files to MOV Conversion on Mac
When ready, click ‘Convert’ to start format conversion. Once the conversion process is complete, you can click ‘Open Folder’ button to get the generated AIC MOV files for editing in iMovie with optimum performance.
Tips:If you don’t want to wait for the entire conversion process, you can tick off ‘Showdown computer when conversion completed’ and go away to do other things.
Related posts
Panasonic HVX200 P2 MXF and iMovie’8/9/11 workflow
Import Sony RX100 III 60p XAVC S/AVCHD files to iMovie
How to transcode Canon C500 MXF footage to AIC for iMovie?
60p video in iMovie – does iMovie’11 properly handle 60fps video now?