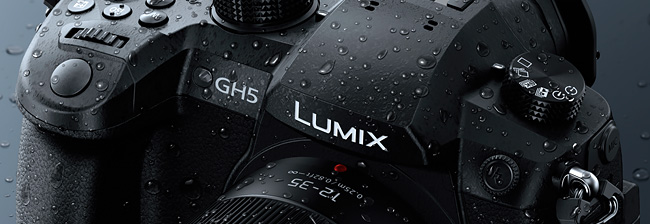
For a fast and fluid workflow, people sometimes need to transcode Panasonic GH5 footage into ProRes codec first before start editing on their Mac based NLEs like Final Cut Pro X, Premiere Pro and DaVinci Resolve. Learn how to process file conversion via using a reliable GH5 video converter app for Mac.

Can’t work with GH5 4K footage in FCP X on my Macbook Pro smoothly
“Hi there, I’m wondering if there is any way to get FCP X working with my GH5 4K footage smoothly. I have a Macbook Pro (13-inch, Late 2011). I try to edit 4K from a Panasonic GH5 in FCP X. I am having a hard time with how slow the mac is at the moment. After importing the the video files and putting them on the time line the clips will need to render – the wait time for this is really really too long, seems can’t finish at all. That will really slow down my workflow. Any workarounds to go through this? Any information would be much appreciated!”
4K footage requires a ridiculous amount of processing power if you want to edit it in its original format. With so many cameras now shooting 4K, a lot of people have computers that will struggle to edit the footage. However, editing Panasonic Lumix GH5 4k footage on a low-spec computer is still possible with a little workaround. We explain how to transcode GH5 4K files to ProRes for editing in FCP X below.
How to convert Panasonic GH5 footage to ProRes for FCP X editing?
Here’s what you need
HD Converter for Mac

Follow these steps:
Step 1: Run HD Converter for Mac as a professional GH5 video to ProRes Converter. When its main interface comes up, click ‘Add File’ to load source video to it.

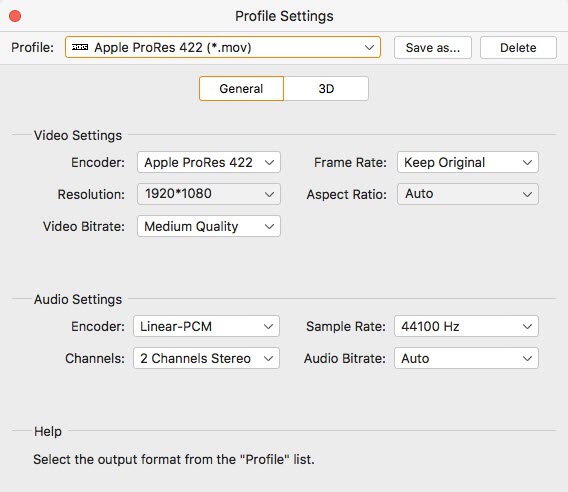
Step 2: Select ‘Apple ProRes 422 (*.mov)’ as output format for opening with FCP X or other Mac based NLEs
From the ‘Profile’ bar, move to ‘Final Cut Pro’ catalogue, and select ‘Apple ProRes 422 (*.mov)’ as target format. Apple ProRes is the best suited editing codec for FCP X and other Mac based NLEs. When loading them into FCP X, you needn’t wait for a long time for rendering.

Important: If you’ve loaded a number of video clips to do batch conversion, please do remember ticking off ‘Apply to All’ option before you start.
Step 3: Adjust video and audio settings (for advanced users)
If necessary, you can click ‘Settings’ button and go to ‘Profiles Settings’ panel to modify video and audio settings like video encoder, resolution, video bit rate, frame rate, aspect ratio, audio encoder, sample rate, audio bit rate, and audio channels. 3D settings are also available.

Step 4: Click ‘Convert’ to start GH5 footage to ProRes MOV conversion.
Step 5: Click ‘Open Folder’ to get generated ProRes 422 QuickTime files for transferring and editing in Final Cut Pro X or other Mac based NLEs with optimum performance.
Also read
How to import Sony MXF files to FCP X?
Sony Vegas has issues handling GH5 footage
Issues editing Panasonic GH5 footage in Edius
Best GH5 Video Converter-convert GH5 4K video for editing
