How can I convert Google Earth tour files to AVI format? If you are looking for a way to convert .kmz or .kml Google Earth tour files into AVI format or any other video format, you are here in the right place.
Need to convert Google Earth tour files to AVI video
“Hello all, is there a way to convert .kmz or .kml Google Earth tour file into AVI format? I read about a Movie Maker Module for Google Earth Pro, but it’s too expensive for me, so I’m wondering if the situation has changed so someone with Google Earth Free is able to convert a .kmz or .kml tour file in to some type of regular movie file format like AVI. Any ideas on this?”
The KML (Keyhole Markup Language) is just a XML file. It is not a video file. The KMZ is just the KML file zipped up and the extension changed to KMZ. You can use a screen capture application like Screen Recorder to capture the screen and create a video in AVI or other formats like MP4, WMV, MOV, AVI, TS, and F4V.
How to convert Google Earth tour files to AVI format?
Software requirement
Screen Recorder (It has Windows and Mac versions, simply download the proper version depending on your OS.)


Follow these steps:
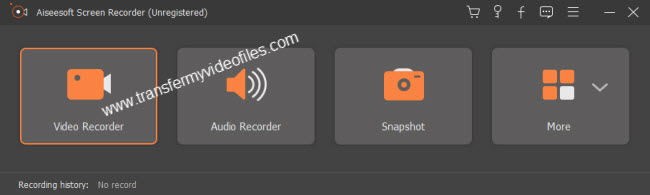
Step 1: Start up Screen Recorder app, and click “Video Recorder”.
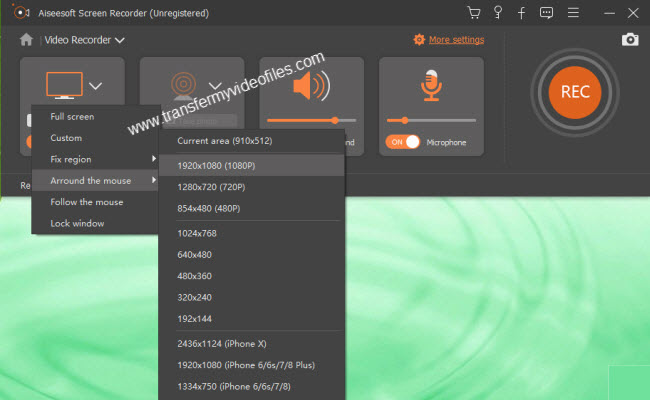
Step 2: Select the recording area on your computer
Before recording with this screen capture software, you should adjust the recording area first. With this Screen Recorder, you are able to choose the full screen or custom the recording area by yourself.
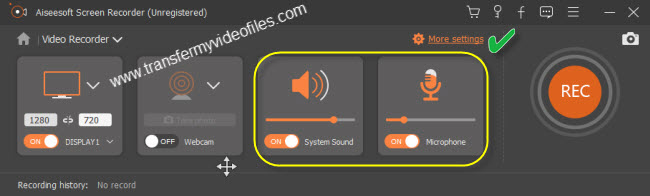
Step 3: Set audio
To record Google Earth tour files to AVI, you need to turn on the system sound and turn off the microphone. Why? Because the noise around will reduce the quality of your video and affect the video effect.
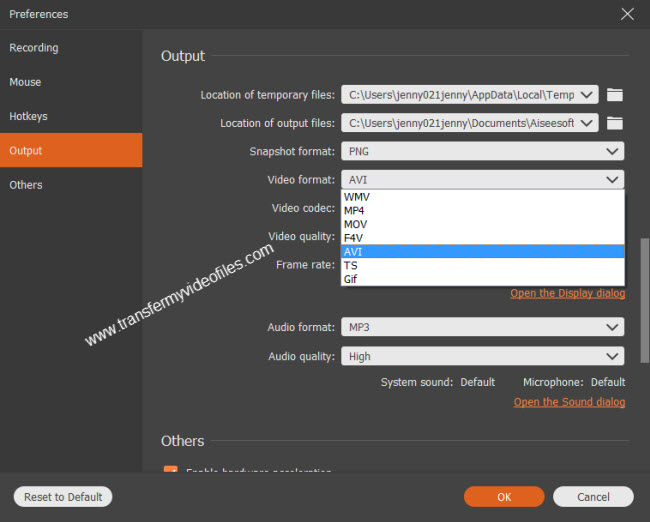
Step 4: More settings (Select AVI as target format)
Click “More settings” in the main interface to custom recording settings before capturing videos. Here you could choose location for saving output video and screenshots in “General”. For “Shortcuts”, you are allowed to set the hotkeys to start/stop capture, pause/resume capture and take a screenshot. If your hotkeys are used by other applications on your computer, you can change them here for easy use. Definitely, you are capable of using the screenshot button in the preview window to take a screenshot. You are also able to choose output format (MP4, WMV, MOV, AVI, TS, and F4V), video codec, video quality, frame rate and set audio preferences as you like. To record Google files to AVI format, simply choose AVI as output format.
Step 5: Record Google Earth tour files to AVI format
After setting the recording area and audio, you need to open the Google Earth tour files which you want to record. Then it’s time for you to record it after you clicked “REC” button. During the period of capturing, screenshots can be kept as long as you want by clicking cut button.
Step 6: Click the stop button to stop recording.

Now you have finished the Google Earth tour files recording process with this desktop recorder. You can find the generated AVI video in the output folder easily.
Also read
Best Mac Screen Recorder
How to record gameplay on macOS High Sierra?
How to record Google Earth video in high quality?
How to convert KML/KMZ files to AVI, MP4, MPEG, WMV?
How to download Vimeo videos not available for download?